
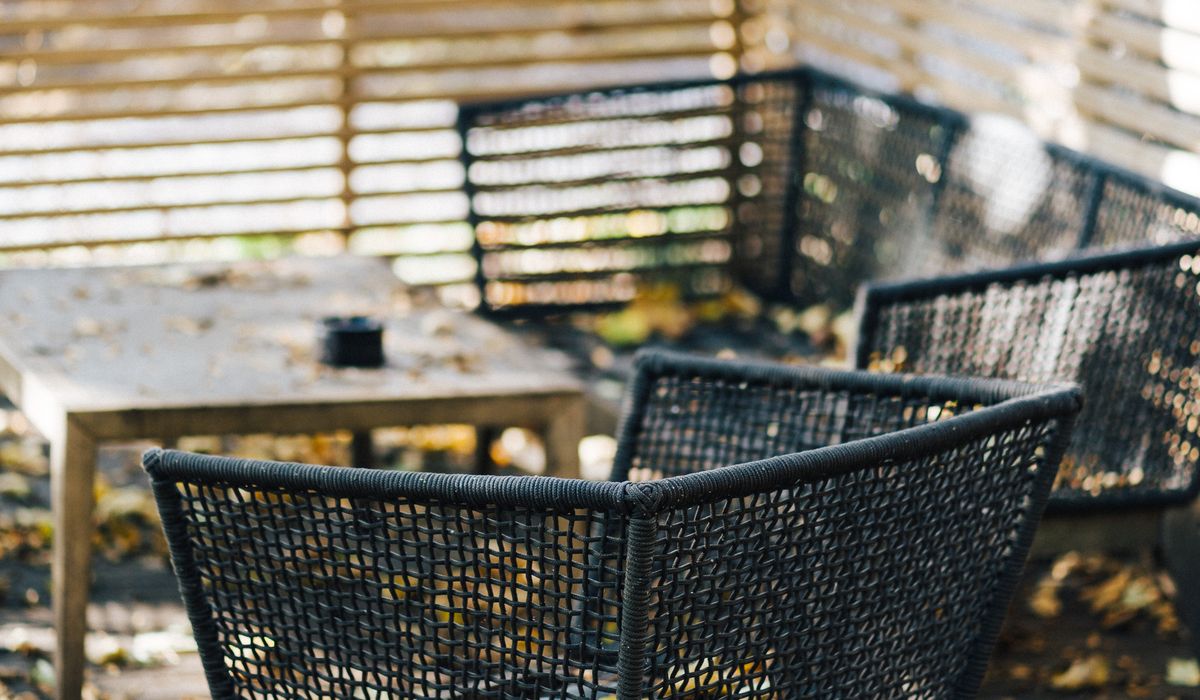
Restoring Old Wooden Furniture with Natural Oils
Why Natural Oils Suit Old Timber So Well
There is something quietly satisfying about rescuing a piece of timber that everyone else had written off. A Victorian pine chest found in a garage, a mid-century teak sideboard with water rings, a garden bench greyed by a decade of British weather — none of them are beyond hope. Old wood has a density and depth of grain that new timber rarely matches, and the right finish does not hide that character, it feeds it.
Natural oils work with the wood rather than sitting on top of it. Linseed, Danish and similar oil blends soak into the fibres, replace the moisture that years of central heating and sunlight have drawn out, and leave a soft, tactile sheen rather than a plastic gloss. They also age gracefully. Where a varnished surface chips and flakes in patches, an oiled finish simply thins and can be topped up with a fresh coat in an afternoon — no stripping, no sanding back to bare wood, no drama.
The one thing to accept from the start is that oil is not a quick job. It rewards patience, thin coats and a warm, dry room.
Before You Touch a Cloth: Read the Piece
Take ten minutes to inspect the furniture properly before you commit to anything abrasive. Run your fingers over the surface and look at it in raking light. If the finish is waxy and dull, it is probably an old wax polish and can be revived gently. If it is hard, glossy and crazed in fine cracks, it is likely varnish or lacquer. If it dissolves with a dab of methylated spirits on a cotton bud, you are dealing with shellac.
- Check for veneer. A thin hardwood skin glued over a cheaper core demands a light touch — sanding through it is heartbreaking and expensive to fix.
- Look for loose joints, splits and old repairs. Deal with these first; glue and cramps are far easier to use before you have oiled everything.
- Pick a hidden spot — the underside of a table top or the inside of a drawer rail — to test your chosen oil and see how much colour it adds.
- Photograph the piece before you begin, and keep any maker's labels or stamps untouched.
If the item is genuinely old and possibly valuable, pause. A light clean and a coat of wax is often all it needs, and heavy sanding can shave hundreds of pounds off its worth.
Cleaning, Stripping and Taking Stock
Start with the gentlest approach. Warm water with a little washing-up liquid and a well-wrung cloth will lift years of grime, followed by a wipe with clean water and a good dry. White spirit on a cloth shifts greasy residues and old wax. For deeper grime, use grade 0000 steel wool with the grain, working lightly and stopping the moment you see bare timber appear.
If the surface is painted or thickly varnished and you want bare wood, a chemical stripper is usually kinder than scraping alone. Apply it in a well-ventilated space, ideally outdoors, follow the instructions on the tin, and use a plastic scraper for the bulk of the softened finish before finishing up with wire wool and white spirit. Give the stripped wood a full day to dry before you go anywhere near it with sandpaper.
Sanding Through the Grits
Sanding is where the piece starts to come alive, and it is worth doing properly. Work through the grits rather than jumping straight to a fine paper: 80 or 120 to remove remaining finish and flatten rough grain, 180 to refine, and 240 as your final pass. There is rarely any benefit in going finer than 240 before oiling — very fine paper can burnish the surface so much that the oil struggles to soak in.
Always sand with the grain. Wrap the paper around a cork block or a small offcut of timber so you cut flat rather than digging hollows with your fingertips, and take extra care on moulded edges and carved detail, where a folded piece of paper used by hand is far safer than a power sander.
Small dents can often be raised before you finish: lay a damp cloth over the bruise and press a warm iron on it for a few seconds. The steam swells the crushed fibres back up. When you are done, vacuum thoroughly and wipe with a tack cloth or a cloth dampened with white spirit to remove every trace of dust. Anything left behind will be sealed into the finish.
Feeding the Wood: Linseed and Danish Oil
Raw linseed oil is the traditional choice and gives the deepest, warmest colour, particularly on pine and oak, but it dries very slowly — often several days between coats. Boiled linseed oil has driers added and cures far faster, though it still needs a day or so. Danish oil is a blend of oil and varnish resins, so it builds a slightly harder, more water-resistant surface and is my usual recommendation for anything that will see daily use, such as a dining table or a kitchen chair.
Whichever you choose, the method is the same. Work in a warm, dry, well-ventilated room.
- Apply a thin coat with a lint-free cloth, rubbing with the grain and keeping the coverage even.
- Leave it to soak for 20 to 30 minutes, then wipe off every trace of surplus with a clean dry cloth. Pools of oil that dry on the surface go sticky.
- Wait 24 to 48 hours, then repeat. Two or three coats is usually enough for furniture; outdoor pieces appreciate four.
- For a silkier finish, wet-sand the second coat with 400-grit paper lubricated with oil, then wipe clean and continue as normal.
Safety matters here. Linseed-soaked cloths can heat up and catch fire on their own. Lay them flat outdoors to dry completely, or soak them in water and bin them — never screw them up and leave them in a cupboard.
Waxing, Curing and Everyday Care
Once the final coat has cured for two or three days, a thin layer of clear furniture wax buffed with a soft cloth gives extra protection and a lovely low sheen. Let the piece cure for about a week before putting it into hard service, and keep the room reasonably warm while it does.
After that, maintenance is simple. Dust with a dry cloth, wipe spills promptly with a barely damp one, and re-oil once a year or whenever the surface starts to look thirsty. Avoid silicone-based sprays and harsh cleaners, which leave a residue that makes future oiling patchy. Looked after this way, a rescued piece will outlast most of the furniture bought new this decade — and it will only improve with age.
tag: Craft

Oliver Kensington Author
Use drought tolerant plants, sharp drainage and mulch to create an attractive border that needs little watering or fuss.
YOU MAY ALSO LIKE
Designing a Low Maintenance Gravel Garden
Aug 1
10Understand how natural fleece insulation can improve warmth, manage moisture and suit older British homes without trapping damp.
read more
Choosing Wool Insulation for Period Properties
Jul 26
10Build a reliable starter and bake a crusty loaf using stoneground flour from nearby mills for better flavour.
read moreInteriors
-

ERRIC CATONA
Plan gentle coastal walks with sturdy boots, weather layers and tide checks for safe, refreshing days outside together.
May 19, 2016 at 5.12 pm
Reply
ERRIC CATONA
Use cedar, pine and dried herbs in sachets, diffusers and simmer pots to evoke woodland calm at home.
May 19, 2016 at 5.12 pm
Reply -
ERRIC CATONA
Learn how to manage a compact bin or wormery without smells, producing rich feed for pots and borders.
May 19, 2016 at 5.12 pm
Reply
Garden
Your email address will not be published.